Learn the inner workings of this fast-growing construction delivery method and how Haskell refines and improves with every project.
Modular construction shifts a large share of building work from the jobsite to a manufacturing environment. That change affects design, procurement, schedule, quality control, logistics and field installation.
In volumetric modular construction, a building is divided into three-dimensional units that can include structural systems, envelope assemblies, mechanical and electrical systems, plumbing, fire protection, fixtures and finishes before they reach the site. Those modules are transported to the project location, set on a prepared foundation, connected to adjacent modules and completed through field stitching.
Haskell organizes this process through Design, Manufacture and Installation (DMI). The same delivery framework connects the design team, manufacturing operation, procurement group, logistics team and field installers. That structure gives Haskell direct feedback across the full process, from early design decisions to commissioning.
Step 1: Planning the Modules
Modular design works best when the building is planned for manufacturing from the start, rather than divided into modules after the design is already set. That approach lets designers place module breaks along natural building walls and service zones, which reduces field stitching while keeping structural and MEP connections easier to access.
Module criteria guide architects as they design the space, accounting for room size, structural loads, transportation limits, lifting points, site access, finish transitions and mechanical, electrical and plumbing (MEP) routing. A poor module break can create difficult field welds, inaccessible pipe connections, misaligned finishes or excess work after the modules arrive.
Designers also plan the temporary conditions required for shipping. A module may require temporary walls, roof panels, bracing or removable protection. Openings that later connect to another module may need support during transport. Finished surfaces may need gaps near seams so crews can complete the final connection on site.
Each module has to function as a finished space and as a transportable assembly. It must support its final building loads, then handle lifting, trucking, port handling, vessel movement and crane setting. Those shipping and handling loads often exceed the forces the module will experience after installation.
Step 2: BIM Design for Buildable Instructions
Modular delivery requires a more complete design package than conventional construction. The plant manufactures off of manufacturing drawings vs. a traditional IFC set. Haskell develops the architectural and engineering package and then continues to manufacturing drawings. This is accomplished through detailed Revit models and installation manuals.
Building Information Modeling (BIM) is the digital coordination layer behind that process. Instead of treating drawings as separate sheets, it combines the building’s geometry with system data, material quantities, clearances and installation logic in a single model. That model is used for coordinate framing, MEP routing, penetrations, access, finishes, module connections and other technical details before production begins. The model also supports takeoffs and procurement by defining what each module needs, when those materials are needed and what must ship separately for field stitching.
Manufacturing workers need clear instructions that show sequence, tools, parts and tolerances. The design package must explain how to install each component and what the finished condition should be.
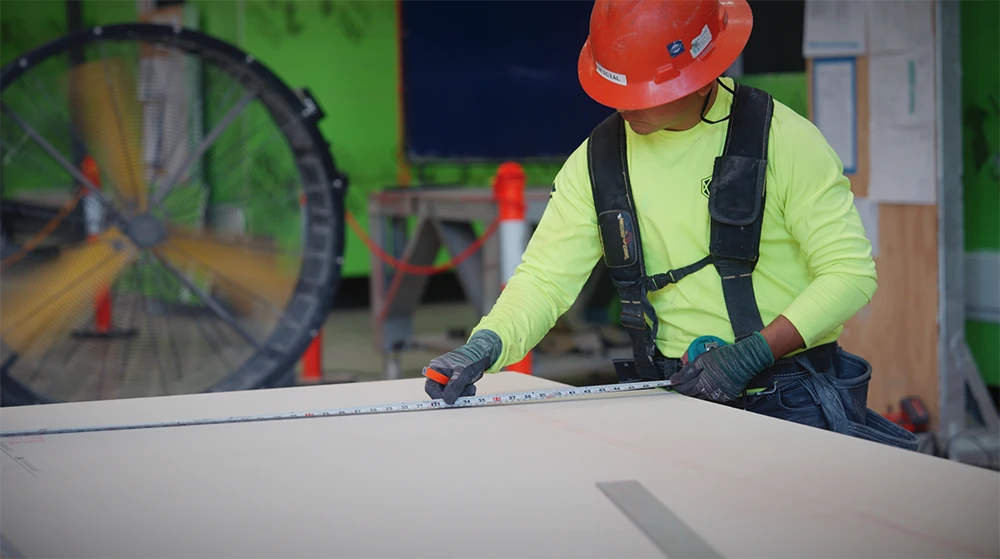
The design process also relies on datum points, which are fixed reference locations used to measure, align and verify work. Steel frames are built on jigs, with critical dimensions checked before shipment. In high-finish spaces, grout lines, millwork, door openings and ceiling elements may be measured from the center of a room so the finished space aligns correctly after modules are joined.
Step 3: Manufacturing Modules in Controlled Conditions
Once the design manufacturing drawings are complete, work moves into a controlled manufacturing environment.
Haskell’s modular program uses steel-framed volumetric modules. Steel provides rigidity during shipping, crane handling and field setting. It also allows the rigidity and tighter tolerances for higher levels of interior completion before modules leave the plant.
A typical production sequence starts with the structural frame, then moves through light-gauge framing, floor systems, wall systems, MEP rough-ins, fire protection components, envelope assemblies and finishes. Depending on the project, modules can leave the facility with flooring, paint, millwork, tile, stone, fixtures and other finish work already installed.
The enclosed manufacturing environment ensures repeatability. Crews work under cover. Materials are staged to match the production sequence. Quality checks occur throughout fabrication rather than at the end of the job. When an issue arises in one module, the team can adjust the process before the same issue recurs in the next set.
Detailed layouts also reduce waste. Tile, drywall, floor panels and other materials can be counted, cut and sequenced from the model. On repeat programs, those improvements compound across multiple buildings.
Step 4: MEP Integration
Modules are designed to reduce field labor while maintaining proper access for connections, inspection and testing. Designers determine which components are installed inside the module and which will be shipped loose for completion at the project site.
For example, HVAC distribution may be installed inside each module. Interconnecting ductwork can be fabricated separately, shipped with the field materials and installed after modules are set. Plumbing, electrical and fire protection lines can follow the same approach.
The connection points require careful coordination. Pipe connections need access. Electrical pathways need clear routing between modules. Fire protection lines need testing. HVAC systems require alignment between factory-installed distribution and field-installed ductwork.
Haskell’s DMI structure helps manage those interfaces because design, manufacturing and installation teams work from the same model and feedback loop. One clear advantage of this level of coordination is a reduction in dee spaces, interstitial spaces and mechanical chases can be reduced because of the high level of coordination possible through the BIM process.
Step 5: Early Procurement
Modular construction compresses the time available for procurement. Materials must be approved, procured, shipped and staged before they’re needed on the production line. In conventional construction, this process can flow with the schedule. In manufacturing, this is all done upfront, often completed before foundations are started.
That process starts with specifications and samples. Designers, owners, procurement teams and vendors work through approvals for finishes, shop drawings, equipment, furniture, fixtures and specialty materials.
The procurement plan must align with the manufacturing and installation sequences.
Step 6: Logistics
Transportation affects module size, structure, schedule and cost, and must be considered during the early design phase.
A route survey maps the path from the factory to the site and checks roadway geometry, load limits, overhead clearances, port access, staging options and local movement restrictions. The last mile is often more limiting than the long-distance route, where local streets and site access can create the most difficult constraints.
International work adds customs, freight forwarding, vessel schedules and import documentation. Modular buildings require documentation that ties modules, field materials and shipping containers to one project.
Modules also need protection during transit. Openings are closed with temporary panels. Some modules receive temporary roof, wall or floor elements for stiffness. Exterior wraps protect against water and air movement. Desiccants may be placed inside the sealed module to control moisture during temperature changes. A secondary tarp can protect the primary weather barrier.
The Field Kit of Parts (FKOP) is the coordinated package of materials and prefabricated assemblies needed to stitch the modules into a finished building on site. It moves through the same logistics plan as the modules and may include MEP tie-in assemblies, finish materials, envelope components and other project-specific parts. Haskell organizes the FKOP by discipline and installation sequence so crews can access the right materials at the right time.
Step 7: Installation and Stitching
The site must be prepared for modular tolerances before modules arrive. Foundations, base plates, embeds, utilities and crane access must be ready.
During setting, each module is lifted into place, aligned, leveled and secured. Crews check datum points, wall alignment, floor elevations, grout lines and system connection points before finalizing the position. Modules are welded to foundation base plates and to adjacent modules, as determined by the structural design.
After modules are set, stitching connects the building structurally, closes the envelope, completes interior transitions and ties MEP systems into full building operation. Haskell’s installation manuals guide this work by detailing each step and inspection point, helping crews avoid scope gaps and preventing work from being covered before it is connected or tested. Commissioning then verifies that factory-installed and field-completed systems perform together as one building.
Benefits of Modular Construction
Parallel Work for Speed
Modular construction compresses the project schedule by moving site work and building production onto parallel tracks. While permits, foundations and utilities advance, modules are built in a controlled facility with planned labor, staged materials and repeatable quality checks. That overlap shortens the critical path, reduces jobsite congestion, limits weather exposure and shifts more work to a safer, more predictable environment.
Once foundations are ready, modules can be set quickly, and fieldwork can focus on stitching the modules and commissioning. Fewer hours on site, lower rework risk and earlier occupancy bring down cost and risk.
Reduced Cost
The efficiency of modular construction can reduce project costs without affecting quality or reducing every line item. Some examples include:
- Time on site: When sitework and module production run at the same time, the project can shorten the period it carries field supervision, temporary facilities, equipment, security, site utilities and other general conditions. Earlier turnover can also reduce financing exposure and allow the owner to occupy, lease or operate the facility sooner.
- Field labor: Modular delivery moves much of the trade work into the plant, where crews follow a planned production sequence and work with materials staged for the next activity. That reduces the amount of labor needed on site, which is especially valuable in remote markets, congested sites or areas with limited skilled labor.
- Procurement: Because the BIM model defines module-specific quantities, Haskell can procure the actual need, reduce excess material and package field materials around the installation sequence. On repeat programs, approved submittals, standard details and predictable quantities also improve purchasing leverage.
- Quality Control: Factory inspections, tighter tolerances and repeated installation methods help catch issues before they spread across the jobsite. As Haskell captures lessons from design, manufacturing and installation, those updates reduce labor hours, material waste and installation time on later modules or projects.
Finish Quality
Modern modular construction can support high-finish buildings when the detailing is planned for the delivery method.
Haskell’s modular work has included high-end commercial, religious and cultural buildings, housing, dormitories and offices. Interior finishes can include stone, tile, millwork, decorative painting, coffered ceilings and detailed trim. Exterior systems can include metal panels, brick, stucco, stone, glass fiber reinforced concrete and other cladding systems.
The critical work happens before production. Designers locate seams where they can be concealed, aligned with natural joints or finished cleanly. Materials are tested for transport conditions. Teams decide which finishes should be installed in the plant and which should be completed after modules are stitched together.
Tolerance controls the final appearance. If two modules form one room, the finishes should align across the joint. Haskell’s use of jigs, datum points and detailed measurement strategies supports that level of control.
How to Evaluate Modular Delivery
Modular construction works best when the building, manufacturing process, shipping plan and installation sequence are treated as one connected scope. Owners should evaluate the project before committing to volumetric modular delivery.
Key questions include:
- Can the design be resolved early enough for manufacturing?
- Can the building be divided into modules without creating excessive fieldwork?
- Can the route support the module size, weight and delivery sequence?
- Can the project benefit from parallel sitework and off-site production?
- Can the delivery team be highly involved from design through commissioning?
Haskell’s Design Manufacture Install model is built around that interface control. Design, manufacturing, logistics and installation are connected in one delivery structure. Mark up installers can review details before they are repeated. Manufacturing teams can give feedback on what improves production. Field crews use manuals that reflect how the modules were designed and fabricated.
That feedback loop comes from Haskell’s design-build background and extends it into volumetric modular delivery. Many modular programs separate design and manufacturing from installation, which can leave field teams to resolve module connections after delivery. Haskell includes installation planning and execution support within the DMI model, helping reduce scope gaps, improve sequencing and keep accountability with one team.
For projects where modular delivery fits, Haskell combines detailed design, controlled manufacturing, global logistics, Field Kit of Parts planning, installation ownership and continuous improvement in one process. That structure gives owners a practical way to use modular construction for complex buildings where speed, consistency and risk reduction matter.
Related News & Insights
Why Do Architects Resist Modular Construction?
Understand the structural mismatch behind architects' hesitation toward modular construction. Learn how integrated delivery models are closing the gap.
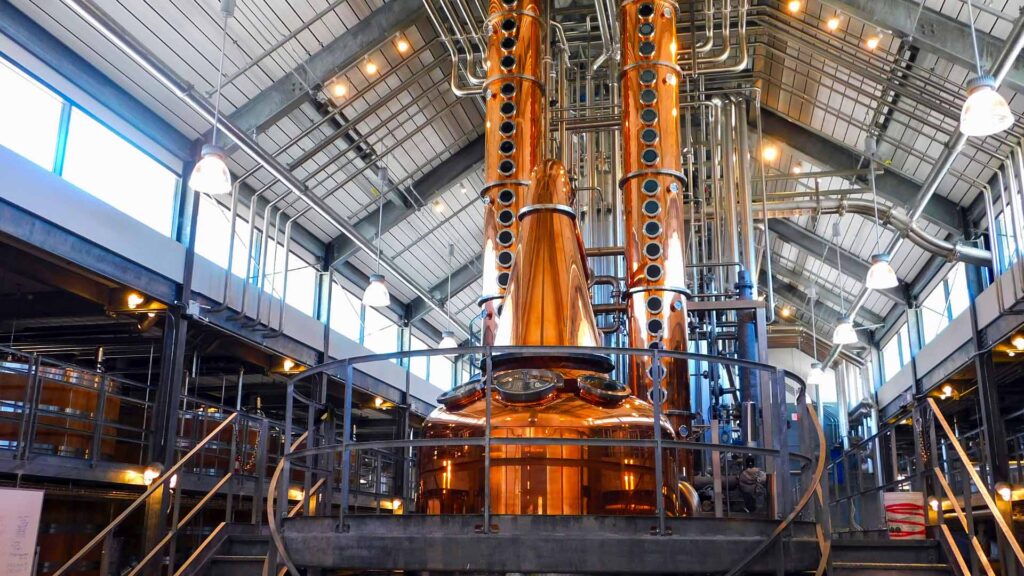
Integrated Expertise That Drives Results in Beer, Wine and Spirits
Learn how, with all disciplines under one roof, Haskell delivers highly complex, sustainable, turnkey beverage facilities with speed and certainty.

Haskell to Push Modular Energy Integration in Wells Fargo Incubator
Learn how Haskell and seven other cohort members will leverage expert support to advance adoption strategies for cutting-edge energy solutions.
Rapidly Advancing Technology is Transforming EPC Project Delivery
From BIM and digital twins to mobile collaboration and AI, learn how wise use of technology is improving efficiency and preparing clients for Industry 4.0.